How to Automate WordPress and Social Media With IFTTT (& More)
-
- 39
Are you looking for ways to automate your WordPress website and social media accounts?
Through automation, you will be able to automatically share your WordPress blog posts or updates on platforms like Facebook, Twitter, LinkedIn, Instagram, and more.
In this article, we will show you how to easily automate WordPress and social media with IFTTT, Zapier, and Uncanny Automator.
Why Automate WordPress and Social Media?
Automating your WordPress website and social media accounts eliminates the need to manually share content on these platforms.
You can easily schedule posts to be published on various social media platforms at the same time without having to log in and share them individually.
For instance, if you have an important announcement to make on your website, you can automate WordPress and social media so that the announcement goes live on all social platforms at a scheduled time.
This saves time and effort, boosts your social media presence, and can increase website visibility.
Additionally, automating WordPress with social media can also improve your site’s SEO by increasing social media signals such as likes, shares, and comments.
That being said, let’s see how you can easily automate WordPress with social media using IFTT, Zapier, and Uncanny Automator.
- Automate WordPress and Social Media With IFTTT (Free)
- Use Zapier to Automate WordPress and Social Media
- Automate WordPress and Social Media With Uncanny Automator (Recommended)
Method 1: Automate WordPress and Social Media With IFTTT (Free)
IFTTT (If This Then That) is a free web service that helps users automate web-based tasks. It uses applets to connect two or more apps and devices.
For example, you can use a Twitter applet to connect your Twitter account to your WordPress website.
If you are looking for a free way to automate social media and WordPress, then this method is for you.
Create an IFTTT Account
To automate your WordPress website and social media, you will need to create an account on IFTTT.
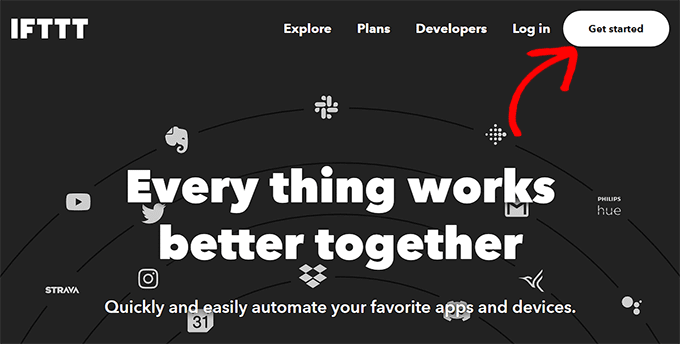
First, you must visit the IFTTT website and click on the ‘Get Started’ button in the top right corner of the screen.
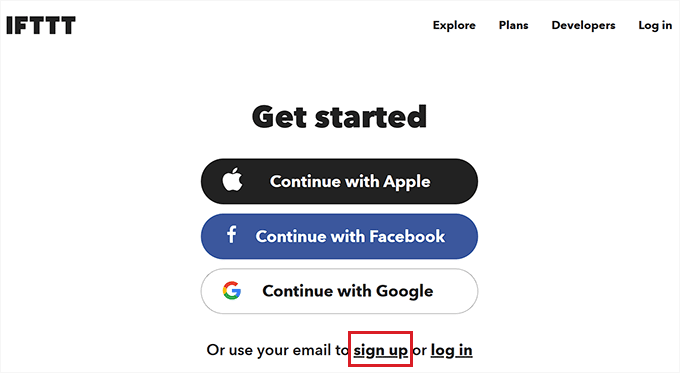
This will direct you to a new page, where you have to click on the ‘Sign up’ link.
Next, provide your email credentials to create an account on IFTTT.
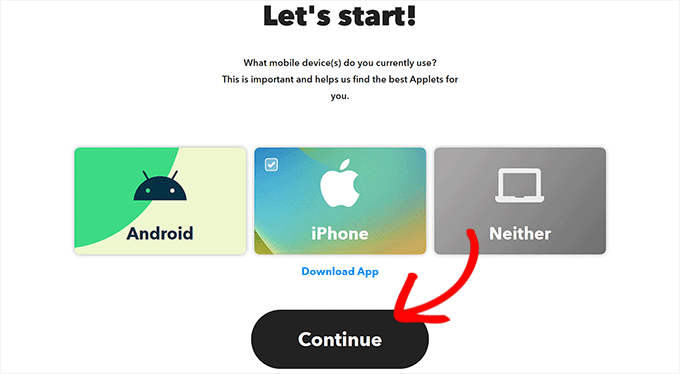
Once you have done that, you will see the ‘Let’s Start’ page, where you need to select the type of mobile device you currently use.
Simply choose an option and click the ‘Continue’ button.
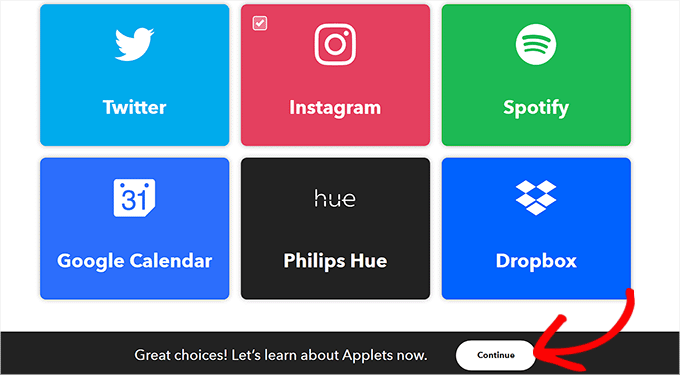
After that, you must select the social platforms that you frequently use to better customize your ‘Explore’ page.
Once you are done, click the ‘Continue’ button to move forward.
Set Up an IFTTT Applet
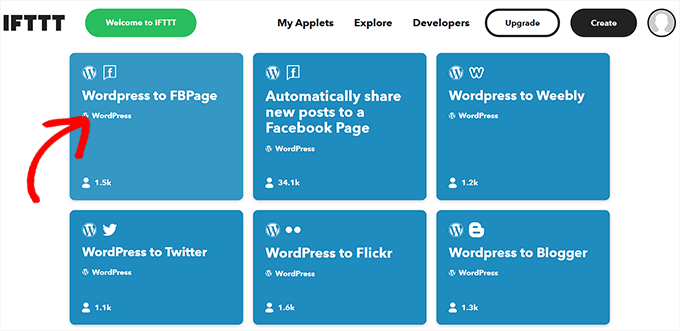
Now that your account is ready, you will be taken to the ‘Explore’ page, where you can select an applet that works for you.
For this tutorial, we will automate WordPress and Facebook.
To do this, go ahead and click on the ‘WordPress to FB Page’ applet from the list.
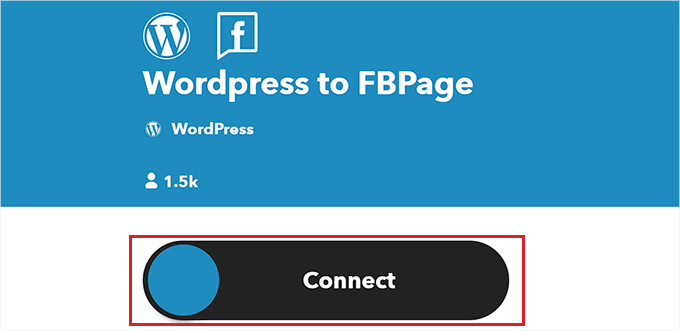
You will now be directed to the ‘WordPress to FB Page’ screen.
Next, simply toggle on the ‘Connect’ switch.
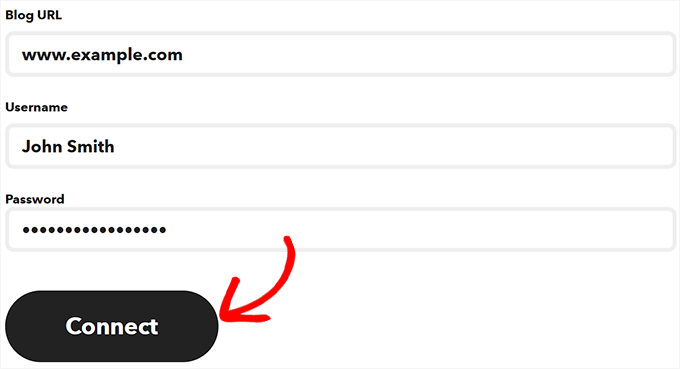
This will take you to a new page, where you have to provide your WordPress blog URL, username, and password.
Once you are done, click the ‘Connect’ button to integrate WordPress with IFTTT.
After your WordPress website is connected, you will be redirected to the ‘WordPress to FBPage’ screen.
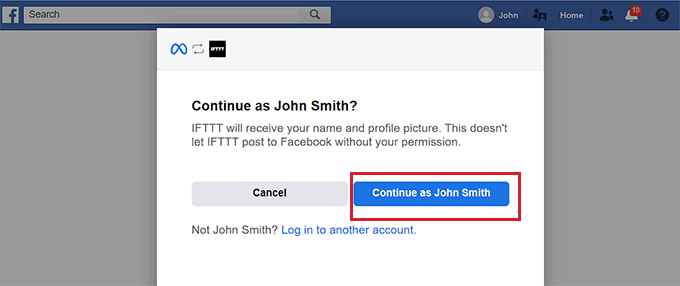
Here, simply toggle the ‘Connect’ switch again. This will direct you to the Facebook platform, where you must give permission to connect your Facebook account with IFTTT.
Simply click the ‘Continue’ button if you are sure.
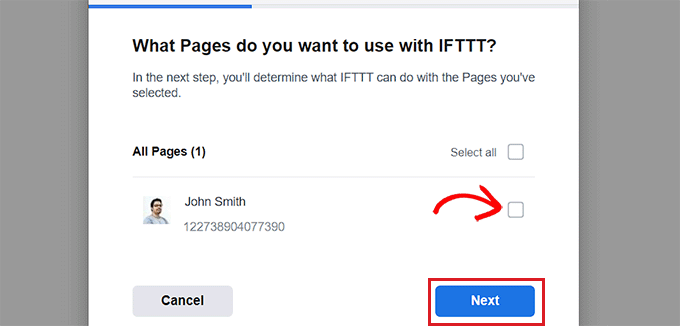
You will then be asked about the pages you want to connect with IFTTT. Go ahead and select the Facebook page where you will share your WordPress blog posts.
Once you have done that, click the ‘Next’ button.
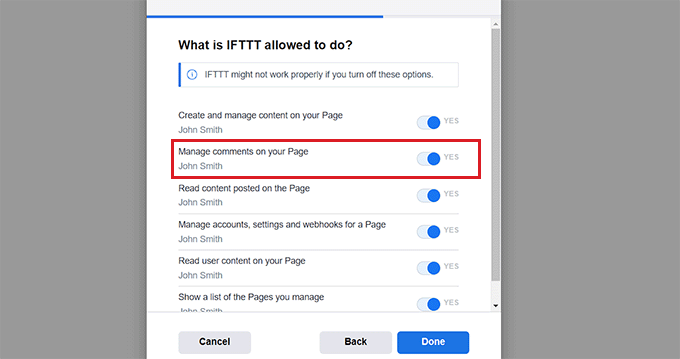
Next, simply select all the actions that IFTTT is allowed to do on your Facebook page.
For instance, if you want IFTTT to manage comments on your page, toggle the switch next to the option to ‘Yes’. Then, simply click ‘Done’.
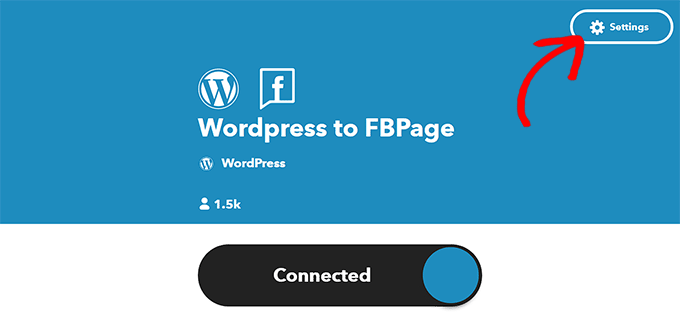
You will now see the ‘WordPress to FBPage’ screen, where the toggle will show that your WordPress website and Facebook pages are connected.
From here, simply click the ‘Settings’ button at the top.
You will be now taken to the ‘Create’ page.
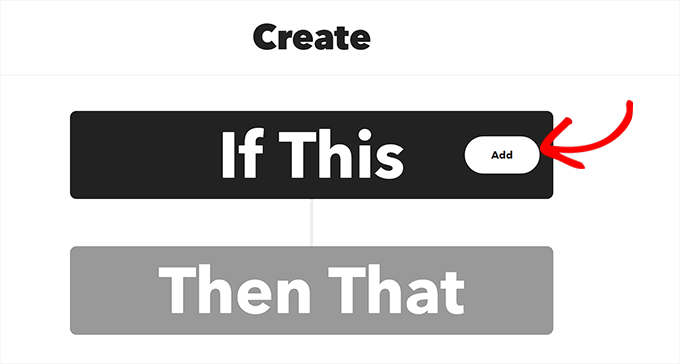
Set Up ‘If This’ and ‘Then That’
Here, you can configure the actions you want IFTTT to take on your Facebook page when something happens on your WordPress website.
Go ahead and click on the ‘Add’ button next to the ‘If This’ option.
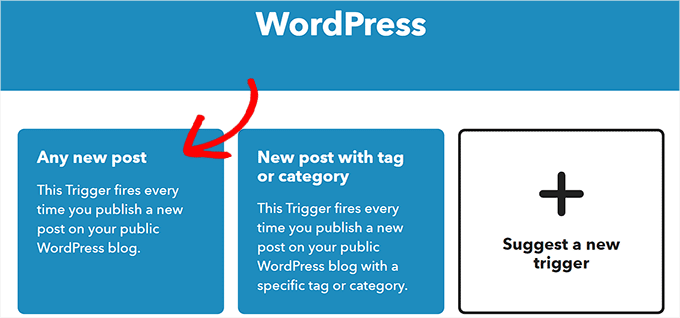
Next, simply choose WordPress as the service from the ‘Choose a Service’ page.
This will direct you to the ‘Choose a Trigger’ page. Here, just select when you want the Trigger to go off. This Trigger will alert IFTTT when an action is taking place on your website.
For instance, if you want a Trigger to go off every time you add a new post, simply choose that option.
You can also create your own Trigger. After that, simply click the ‘Create Trigger’ button.
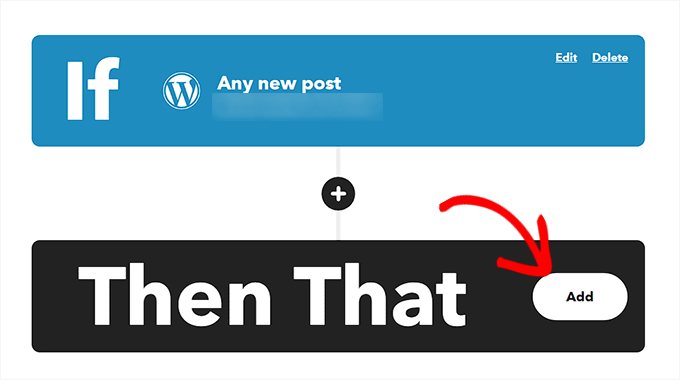
Now that the Trigger is ready, you will be redirected to the ‘Create’ page.
Go ahead and click the ‘Add’ button next to the ‘Then That’ option
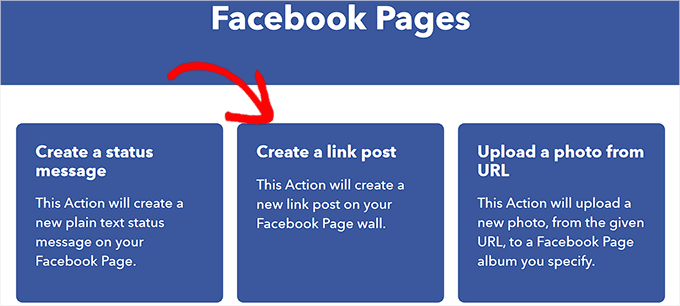
Next, simply choose ‘Facebook Pages’ from the ‘Choose a Service’ page.
You must now select an Action. This is what IFTTT will do on your Facebook page when a particular action happens on your WordPress website.
For example, you can tell IFTTT to share the WordPress post link on your Facebook page once a new post has been published on your website.
After that, click the ‘Create Action’ button.
Once you have successfully created an IFTTT action, you will see the ‘Create’ page.
Go ahead and click the ‘Save’ button to store your settings.
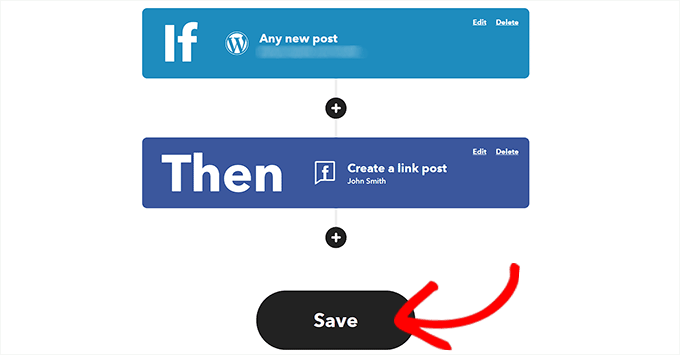
You have now successfully automated WordPress and Facebook with IFTTT.
Method 2: Use Zapier to Automate WordPress and Social Media
If you want to automate social media and WordPress using Zapier, then this method is for you.
Zapier is a cloud-based automation tool that allows users to connect various web applications, including Gmail, Trello, Slack, Facebook, Twitter, and more.
It also offers a library of pre-built automation workflows, known as “Zaps”, that you can customize further to suit your needs.
Set Up Zapier
To automate WordPress and social media, you will first need to install and activate the Zapier for WordPress plugin on your website. For more instructions, please see our step-by-step guide on how to install a WordPress plugin.
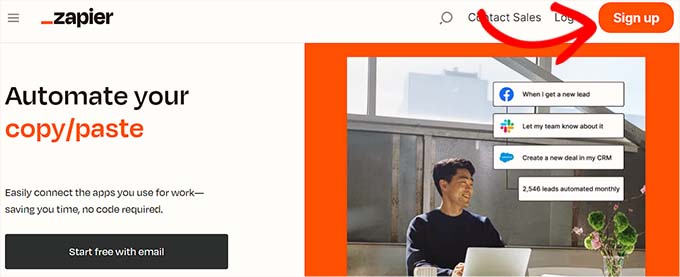
After that, you must visit the Zapier website and click the ‘Sign Up’ button in the top right corner of the screen to start creating an account.
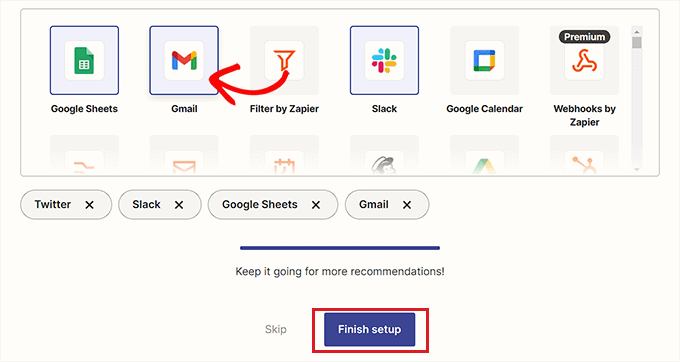
Once you have provided the credentials, you will see the ‘What apps do you use?’ page.
Here, simply select the apps that you use and click on the ‘Finish Setup’ button. At a minimum, you will need to choose WordPress and the social media platforms that you want to connect to your website.
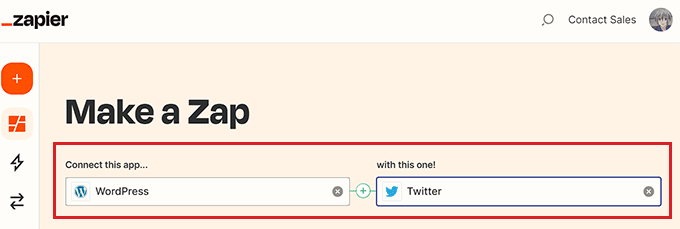
You will now be taken to your Zapier dashboard. Here, simply search for and add WordPress under the ‘Connect this app…’ option.
Next, add the social media platform that you want to connect with WordPress under the ‘with this one!’ option.
For this tutorial, we will be connecting WordPress with Twitter.
Make a Zap
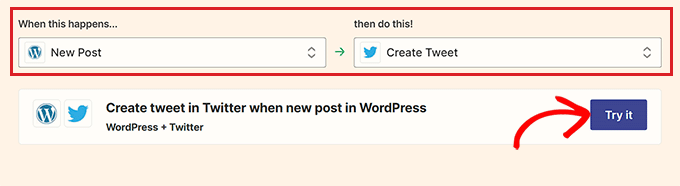
Next, you must select a trigger for WordPress from the dropdown menu. When a particular action happens on your WordPress website, this trigger will tell Zapier to perform an action on Twitter.
After you have done that, choose the action you want Zapier to perform from the ‘then do this!’ dropdown menu.
For instance, if you want to create a tweet every time you publish a new post in WordPress, then you need to select these options.
Once you are done, click the ‘Try it’ button to create a Zap.
Connect Your WordPress Site and Twitter Account to Zapier
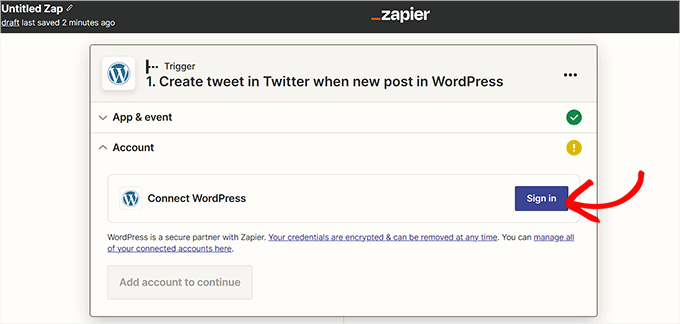
Next, you will see the Zapier Editor.
You must expand the WordPress Trigger tab and then click the ‘Sign in’ button to connect WordPress and Zapier.
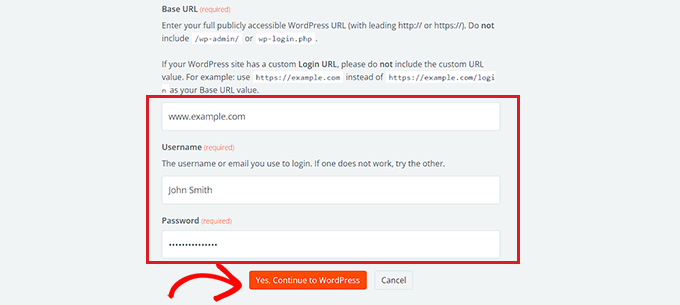
This will open up the ‘Connect an Account’ page in a new window.
Go ahead and provide your WordPress site’s username, password, and URL. After that, click the ‘Yes, Continue to WordPress’ button to move forward.
Once your WordPress website is connected, expand the Twitter tab and click the ‘Sign In’ button.
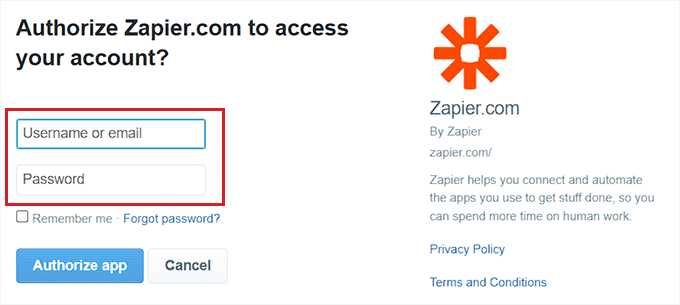
You will see the ‘Connect an Account’ page again, where you need to give Zapier permission to connect to your Twitter account.
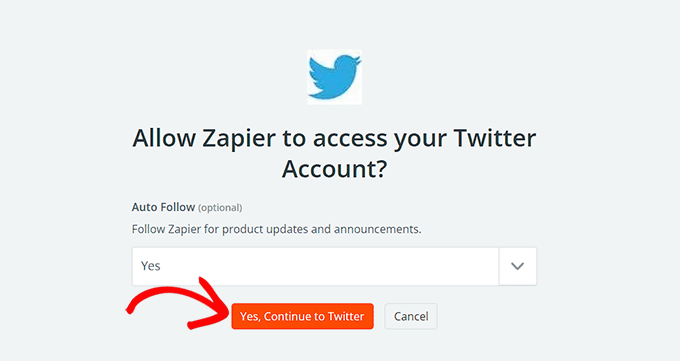
Simply provide the username and password for your Twitter account and click the ‘Authorize app’ button.
Zapier will now connect your Twitter account with your WordPress website.
Personalize Your Zap
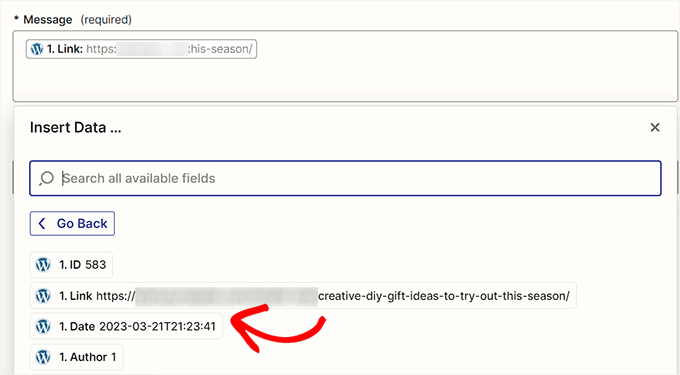
Next, use the ‘Message’ dropdown menu to select the content for the tweet that will be posted every time you publish a new article.
For instance, if you want to add the post link, date, and author name in the tweet, simply choose these options from the dropdown menu.
Next, click the ‘Continue’ button to move forward.
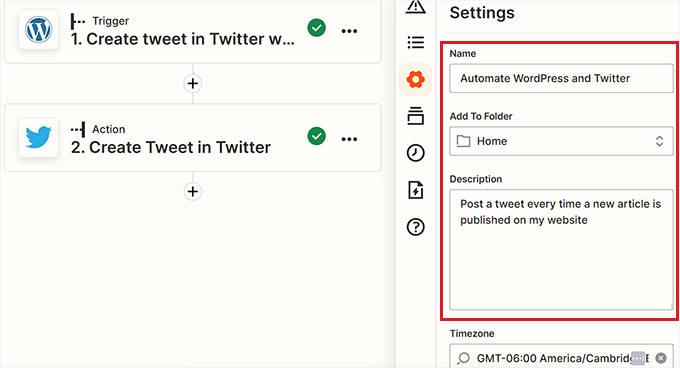
After that, switch to the ‘Settings’ tab from the sidebar on the left. You can start by entering a name for the Zap you created.
Next, type a description and choose a timezone for the Zap.
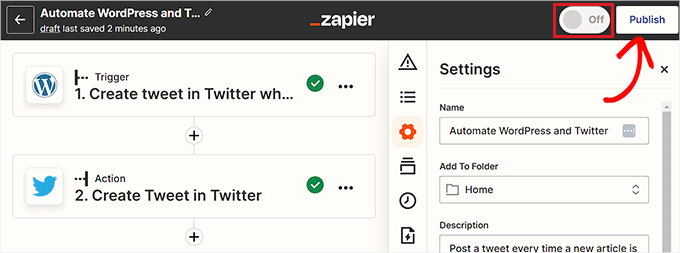
Finally, toggle the switch at the top to ‘On’ and then click the ‘Publish’ button to create and activate your Zap.
You have now successfully automated WordPress and Twitter.
Method 3: Automate WordPress and Social Media With Uncanny Automator (Recommended)
If you are looking for a more affordable alternative to Zapier for automating WordPress and social media, then this method is for you.
Uncanny Automator is the best WordPress automation plugin that allows websites to connect with multiple third-party apps and automate workflows. Additionally, it allows you to customize your automations to fit your specific needs.
Set Up Uncanny Automator
First, you will need to install and activate the Uncanny Automator plugin. For more details, please see our tutorial on how to install a WordPress plugin.
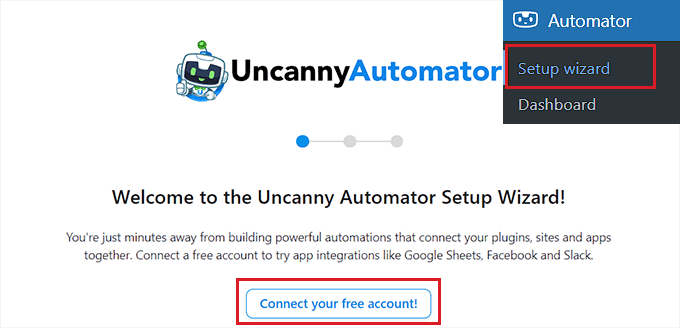
Upon activation, head over to the Automator » Setup wizard page from the admin sidebar. Once you are there, click the ‘Connect your free account’ button.
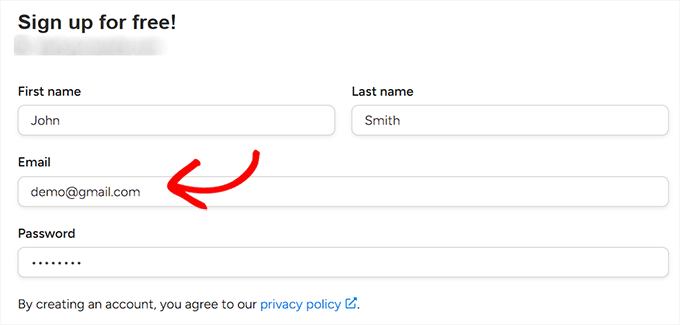
This will open up the ‘Sign In’ page in a new window.
Here, simply provide your credentials to create a free Uncanny Automator account and then click the ‘Sign up’ button at the bottom.
Choose an Uncanny Automator Trigger
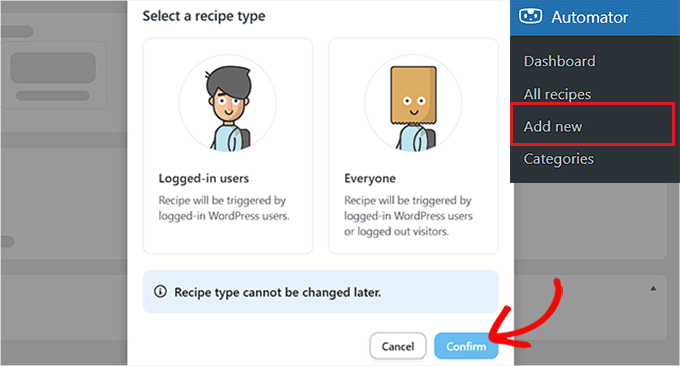
Next, visit the Automator » Add New page from the WordPress admin sidebar. Automator will ask you if the recipe you want to create should be triggered only by logged-in users or by everyone visiting your site.
Go ahead and click the ‘Confirm’ button after choosing an option.
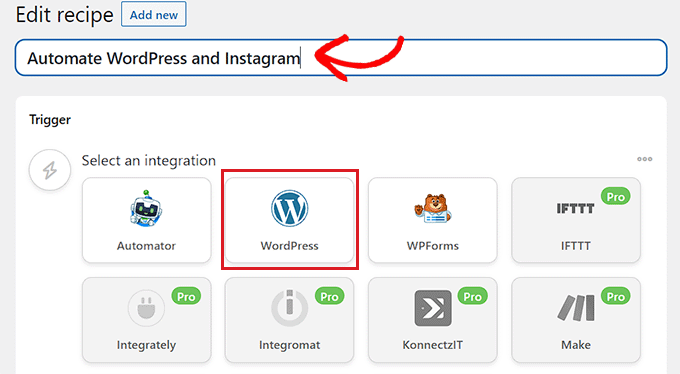
After that, you can start by adding a title for the recipe. For instance, if you want to automate WordPress and Instagram, then you can use that as a recipe name.
Next, simply select the ‘WordPress’ option in the ‘Trigger’ section.
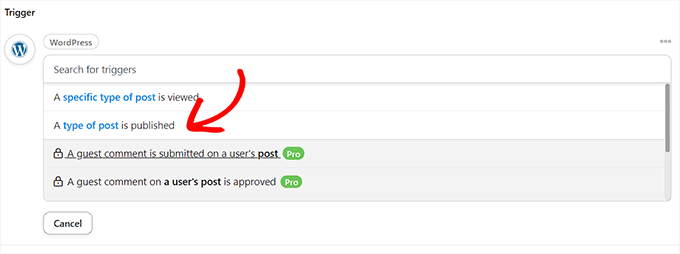
Now, you need to select a Trigger for WordPress.
For example, if you want an Instagram post to go live every time you publish a new WordPress post, choose the ‘A type of post is published’ option from the dropdown menu.’
Connect Uncanny Automator to Instagram
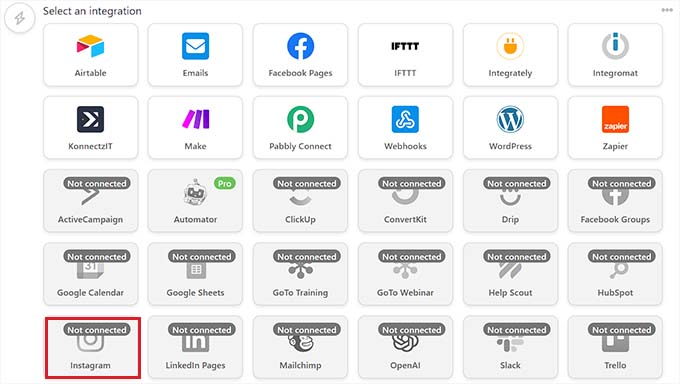
After selecting a Trigger, click on the ‘Add action’ button to open up the list of integrations.
For this tutorial, we will be automating WordPress and Instagram.
Go ahead and choose the ‘Instagram’ option from the list.
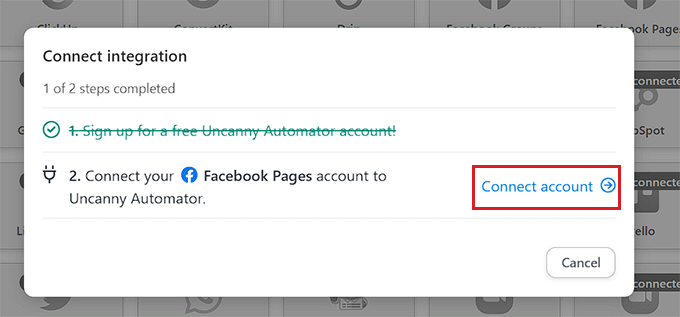
A popup will now display on your screen.
Keep in mind that you can only connect an Instagram business account that is already linked to a Facebook page. You won’t be able to connect to a personal Instagram account, either.
Now go ahead and click the ‘Connect account’ link to integrate Instagram with Uncanny Automator.
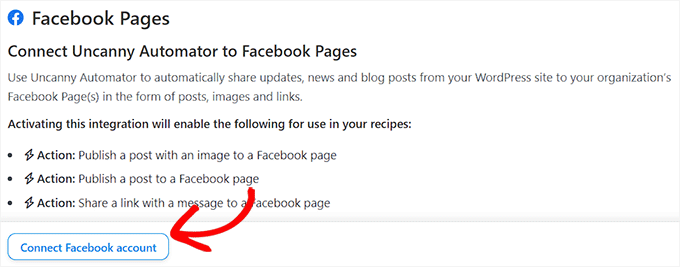
This will open up the ‘Connect an Account’ page in a new window.
Here, simply click the ‘Connect Facebook account’ button to move forward.
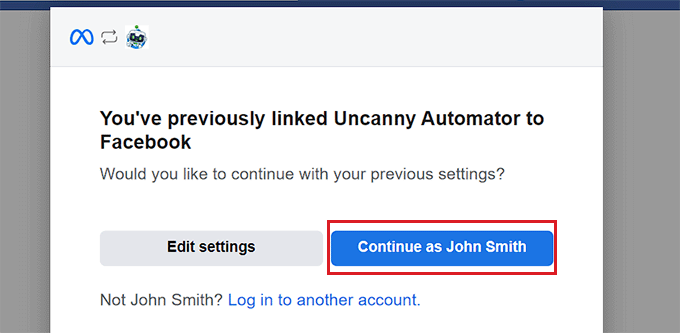
You will now be directed to the Facebook website, where you need to provide your login credentials. You will be asked if you want to continue with the same ID.
Simply click the ‘Continue’ button to connect Facebook to Uncanny Automator.
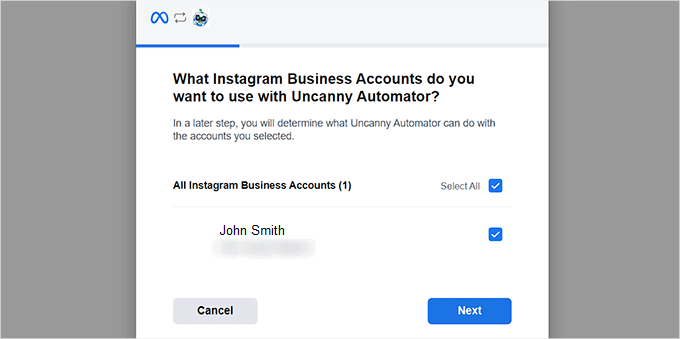
Next, you need to select the business Instagram account linked to your Facebook account.
Then, click the ‘Next’ button to continue.
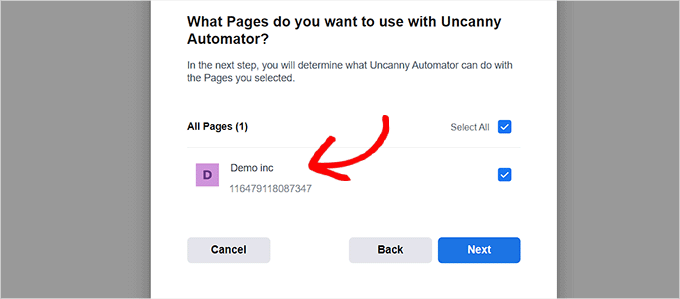
After that, you must select a Facebook page. Simply choose one and click the ‘Next’ button.
Make sure to choose the page connected to your Instagram business account. Otherwise, the process won’t work.
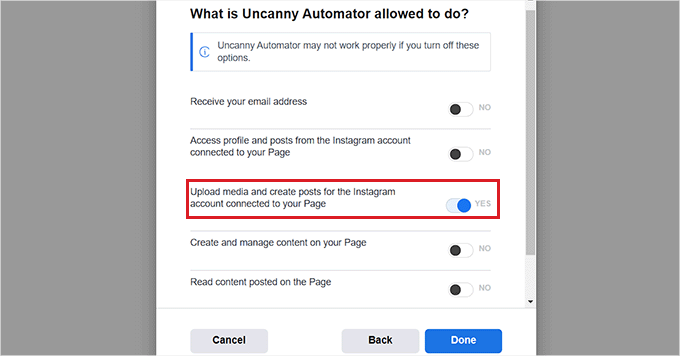
You will then need to choose all the actions that Uncanny Automator is allowed to perform on your Instagram page.
For example, if you want to give it permission to create posts on your Instagram account, then just toggle the switch next to that option.
Now go ahead and click the ‘Done’ button.
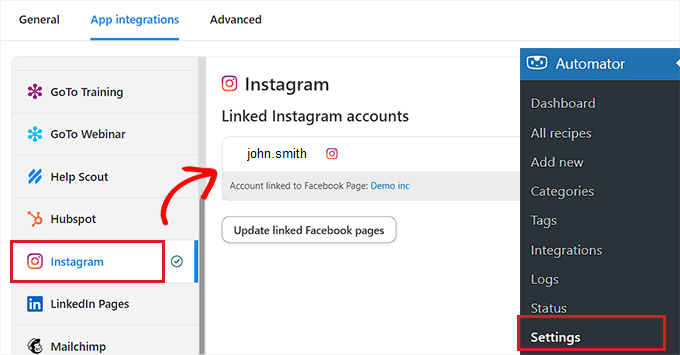
You will now be redirected to the Automator » Settings page on your WordPress admin dashboard. Once you are there, switch to the ‘Instagram’ tab in the left column.
Here, you will see the Instagram business account connected to your Facebook page.
Note: If the Instagram account isn’t displayed on the screen, this means that something went wrong, and you need to go through the process again.
You can now exit this window and head over to the ‘Connect integration’ popup page, and click the ‘Connect Account’ link again. This will integrate Instagram with Uncanny Automator and your WordPress website.
Choose an Uncanny Automator Action
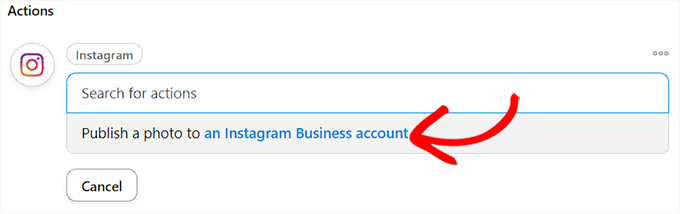
Now it’s time for you to choose the action you want Uncanny Automator to perform on Instagram when something happens on your WordPress website.
For instance, if you want to publish a photo on Instagram every time an article goes live, then choose the ‘Publish a photo to an Instagram Business account’ option.
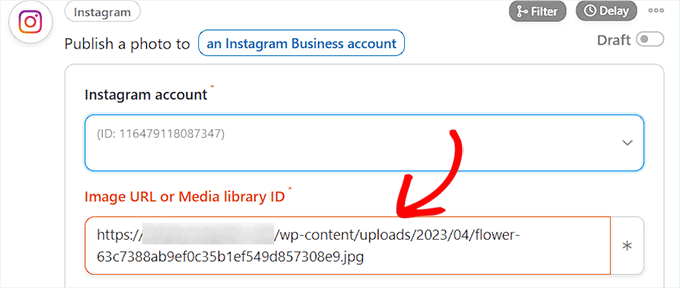
Next, type the URL or the media library ID of the photo that you want to post on Instagram.
You can change the photo URL from the WordPress dashboard every time you publish a new WordPress post.

Next, you must draft a caption that will publish along with your posts. Simply choose the options you like from the dropdown menu.
You can add a site name, email address, website URL, date, and more from the list of options.
Once you are done, click the ‘Save’ button to store the changes.
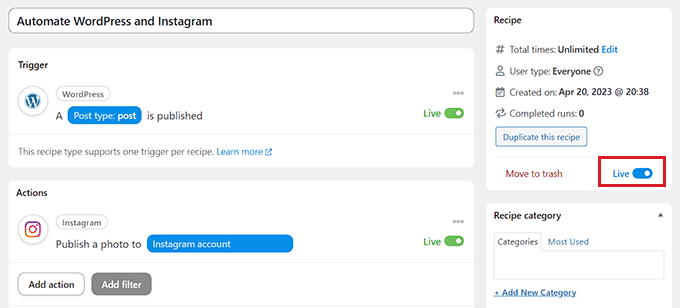
Finally, head over to the ‘Recipe’ section in the right corner of the screen and toggle the switch to ‘Live’.
You have now successfully automated WordPress and Instagram.
We hope this article helped you learn how to automate WordPress and social media platforms using IFTTT, Zapier, and Uncanny Automator. You may also want to see our tutorial on how to send automated emails in WordPress and our top picks for the best marketing automation tools for small businesses.
Are you looking for ways to automate your WordPress website and social media accounts? Through automation, you will be able to automatically share your WordPress blog posts or updates on platforms like Facebook, Twitter, LinkedIn, Instagram, and more. In this article, we will show you how to easily automate WordPress…
Are you looking for ways to automate your WordPress website and social media accounts? Through automation, you will be able to automatically share your WordPress blog posts or updates on platforms like Facebook, Twitter, LinkedIn, Instagram, and more. In this article, we will show you how to easily automate WordPress…