How to Fix Yoast’s WordPress SEO Sitemap 404 Error
-
- 110
Are you trying to fix Yoast SEO’s sitemap 404 error in WordPress?
Yoast SEO is one of the most popular SEO plugins for WordPress. Due to a plugin conflict or incorrect WordPress settings, it may show a 404 error when you try to visit your XML sitemap.
In this article, we’ll show you how to easily fix the Yoast SEO XML sitemap 404 error in WordPress.
What’s Causing Yoast SEO Sitemap 404 Error in WordPress?
WordPress comes with a default XML sitemap that you can submit to Google Search Console and other search engines.
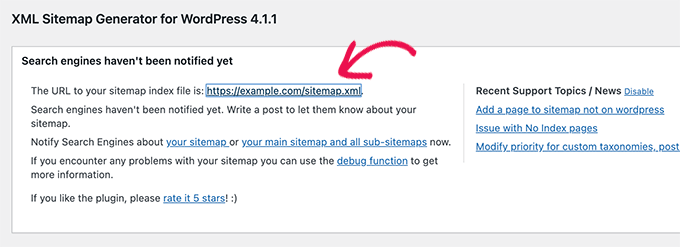
This XML sitemap can be visited by entering the following URL in your browser’s address bar.
https://example.com/sitemap.xml
However, this default WordPress generated sitemap is very basic. To fix this, all top WordPress SEO plugins like All in One SEO for WordPress or the Yoast SEO plugin create their own XML sitemaps with more features.
When you use the XML sitemap generated by your WordPress SEO plugin, these plugins rewrite the default WordPress XML sitemap shortcut.
This means the sitemap URL mentioned above will now send users to the sitemaps generated by your WordPress SEO plugin.
Unfortunately, this may cause a 404 error on some websites due to plugin conflicts or incorrect WordPress settings.
That being said, let’s take a look at how to easily fix the WordPress sitemap 404 error in the Yoast SEO plugin.
1. Refresh WordPress Permalink Structure
WordPress comes with an SEO friendly URL structure (also called permalinks). This URL structure uses a redirect system to tell your web hosting server which page to load when a user enters a URL in their browser.
Normally, these permalinks settings are automatically updated when you make changes to your website.
However, sometimes WordPress may not be able to refresh the permalink structure which may cause Yoast SEO’s sitemap 404 error to appear.
This can be easily fixed by visiting the Settings » Permalinks page in the WordPress admin area and simply clicking on the Save changes button.

Doing so will refresh the WordPress permalink settings. You can now visit your XML sitemap page to see if this fixed your problem.
If it didn’t fix the problem, then you can continue reading.
2. Manually Update Permalinks
If refreshing your WordPress permalink structure doesn’t fix the 404 error, then you can manually tell your web server to redirect users to the Yoast SEO’s sitemap page.
To do this, you’ll need to add the following code to your .htaccess file.
| 123456789 | # Yoast SEO - XML Sitemap Rewrite FixRewriteEngine OnRewriteBase /RewriteRule ^sitemap_index.xml$ /index.php?sitemap=1 [L]RewriteRule ^locations.kml$ /index.php?sitemap=wpseo_local_kml [L]RewriteRule ^geo_sitemap.xml$ /index.php?sitemap=geo [L]RewriteRule ^([^/]+?)-sitemap([0-9]+)?.xml$ /index.php?sitemap=$1&sitemap_n=$2[L]RewriteRule ^([a-z]+)?-?sitemap.xsl$ /index.php?yoast-sitemap-xsl=$1[L]# ENDYoast SEO - XML Sitemap Rewrite Fix |
Hosted with ❤️ by WPCode
1-click Use in WordPress
Note: If your WordPress website is installed in a subdirectory or folder (e.g. https://example.com/mywebsite/ ) then you’ll need to use the following code.
| 123456789 | # Yoast SEO - XML Sitemap Rewrite FixRewriteEngine OnRewriteBase /mywebsite/RewriteRule ^sitemap_index.xml$ /index.php?sitemap=1 [L]RewriteRule ^locations.kml$ /index.php?sitemap=wpseo_local_kml [L]RewriteRule ^geo_sitemap.xml$ /index.php?sitemap=geo [L]RewriteRule ^([^/]+?)-sitemap([0-9]+)?.xml$ /index.php?sitemap=$1&sitemap_n=$2[L]RewriteRule ^([a-z]+)?-?sitemap.xsl$ /index.php?yoast-sitemap-xsl=$1[L]# ENDYoast SEO - XML Sitemap Rewrite Fix |
Hosted with ❤️ by WPCode
1-click Use in WordPress
Don’t forget to replace /mywebsite/ with your subdirectory name.
This code simply tells your web server which pages to display when users access Yoast SEO’s XML sitemaps.
You can now try viewing your XML sitemap to see if this resolved your issue.
3. Switch to an XML Sitemaps Plugin
If the above-mentioned methods didn’t solve the 404 error on Yoast SEO’s XML sitemap page, then you can try using a separate plugin to generate XML sitemaps for your website.
The disadvantage of this approach is that you’ll have to rely on a separate plugin to generate XML sitemaps and Yoast SEO for other SEO features.
First, you need to install and activate the XML Sitemaps plugin. For more details, see our step-by-step guide on how to install a WordPress plugin.
Since you are using Yoast SEO, it will automatically show you a notification to either disable the XML Sitemaps plugin or Yoast SEO’s sitemap functionality.
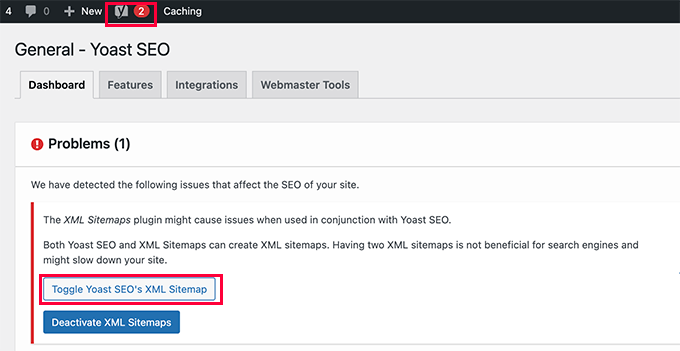
Click on the Toggle Yoast SEO’s XML Sitemap button to continue.
This will bring you to the Features tab under the SEO » General page. From here, you need to scroll down to the XML Sitemaps option and switch it off.
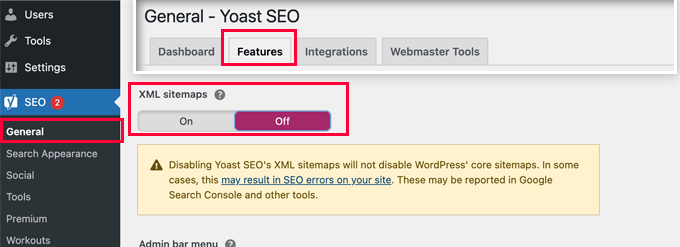
Don’t forget to click on the Save changes button to store your settings.
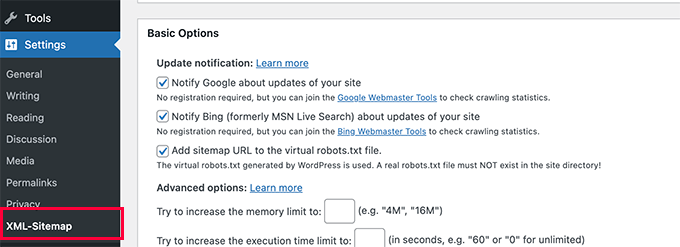
You can now switch to the Settings » XML-Sitemap page to configure your sitemaps. For most websites, default settings would work out of the box.
You can now go ahead and submit the XML sitemap URL to Google search console and other search engines.
4. Switch to the All in One SEO for WordPress
If all steps to troubleshoot fail and you don’t want to use a separate plugin to generate XML sitemaps, then this method may help you fix the sitemap 404 error issue.
For this method, you’ll need All in One SEO for WordPress. It is the best WordPress SEO plugin on the market and a much better Yoast SEO alternative.
You can see our Yoast vs All in One SEO comparison for more details on the differences.
All in One SEO (AIOSEO) comes with advanced XML sitemaps with easy-to-manage options that give you full control of what to include or exclude from your XML sitemaps.
First, you need to install and activate the All in One SEO for WordPress plugin. For more details, see our step by step guide on how to install a WordPress plugin.
Note: There is also a free version of All in One SEO for WordPress which also includes most XML sitemap features except for Video and News sitemaps.
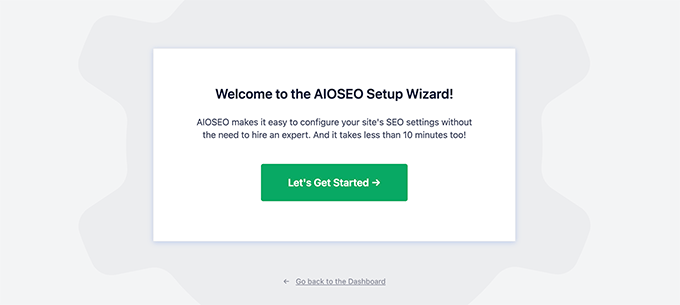
Upon activation, the plugin will walk you through a setup wizard. You can follow our guide on how to properly setup All in One SEO plugin for WordPress if you need help during setup.
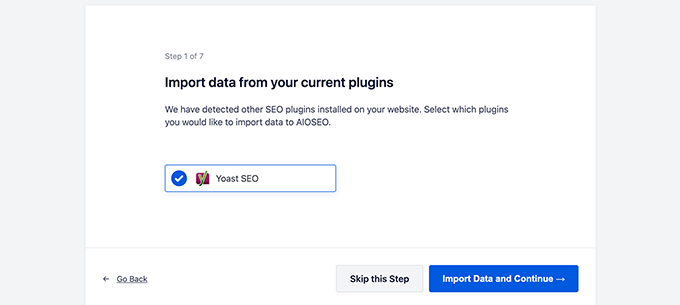
All in One SEO will also allow you to import SEO data from Yoast SEO.
This ensures that all your previous SEO meta tags and titles remain unchanged.
After the initial setup, you can simply go to All in One SEO » Sitemaps page to configure XML sitemap settings.
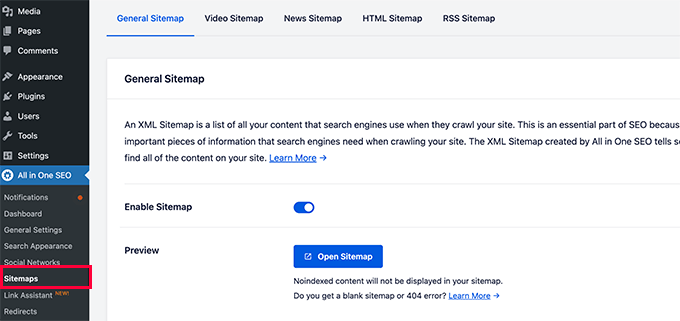
You can click on the Open Sitemap button to see if it fixed the sitemap 404 error in WordPress.
After that, you configure sitemap settings if needed.
For instance, All in One SEO allows you to choose what to include in your sitemaps. You can add or remove post types, taxonomies, individual posts and pages.
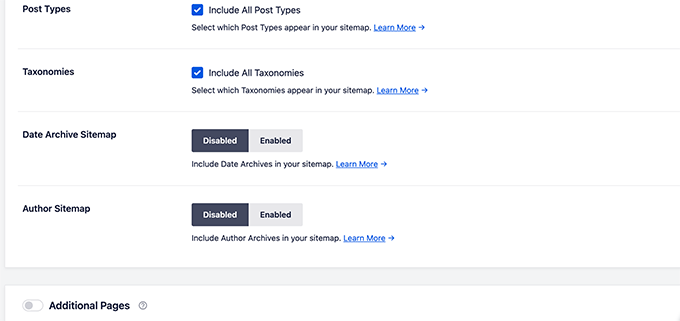
All in One SEO also allows you to create video, news, RSS sitemap, and HTML sitemap for your website.
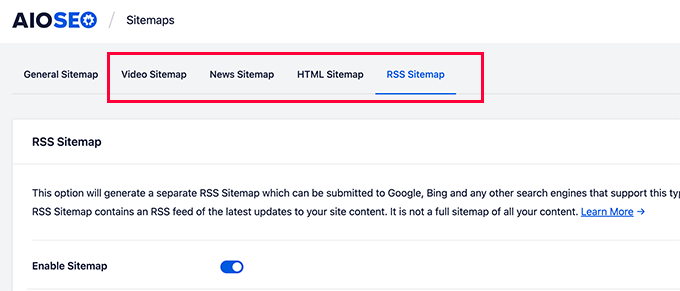
These sitemaps can also be submitted to Google Search Console and other search engines. This helps search engines quickly find newer content on your website.
We hope this article helped you fix Yoast SEO Sitemap 404 error in WordPress. You may also want to see our complete WordPress troubleshooting guide or see how to fix common WordPress errors.
Are you trying to fix Yoast SEO’s sitemap 404 error in WordPress? Yoast SEO is one of the most popular SEO plugins for WordPress. Due to a plugin conflict or incorrect WordPress settings, it may show a 404 error when you try to visit your XML sitemap. In this article,…
Are you trying to fix Yoast SEO’s sitemap 404 error in WordPress? Yoast SEO is one of the most popular SEO plugins for WordPress. Due to a plugin conflict or incorrect WordPress settings, it may show a 404 error when you try to visit your XML sitemap. In this article,…