Introduction
WP Squared is a quick way to launch a high-performance WordPress management platform. The application has everything you need to get started, and you’ll have a running server in about a minute.
App Details
This guide uses 192.0.2.123 as an example IP address and wpsquared.example.com as an example domain. Replace these details with your actual server IP or domain.
- WHM Access:
https://192.0.2.123:2087/ - WP Squared Access:
https://192.0.2.123:2083/
Basic Setup
This is a basic setup to prepare WHM to run WP Squared by creating a new account.
- Access your server IP on the WHM port
2087using a web browserhttps://192.0.2.123:2087/You can proceed past the SSL warning. Visit the bypass the HTTPS warning for self-signed SSL/TLS certificates guide for more information.
- Log in to WHM using the
rootuser and password for your instance.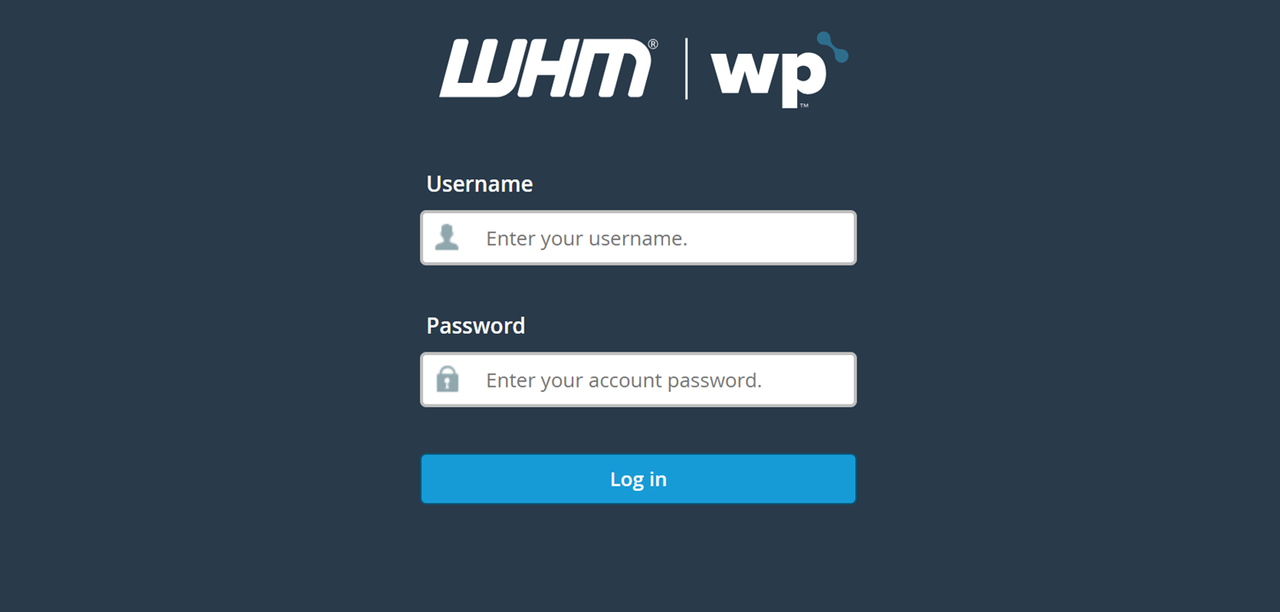
- Read the cPanel and WebHost manager end user agreement and check
I have read and agree to all legal documents listed abovebox.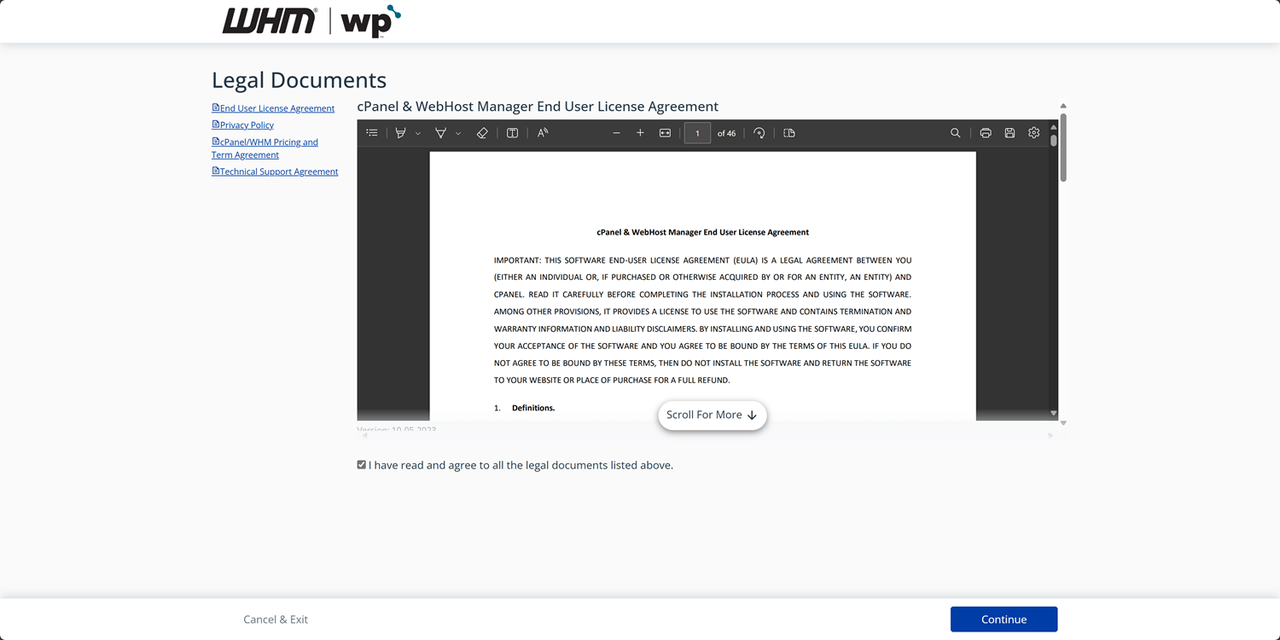
- Click Continue.
- Enter your email address and add your domain’s nameservers in the respective fields. If your are using Vultr DNS, enter
ns1.vultr.comandns2.vultr.com.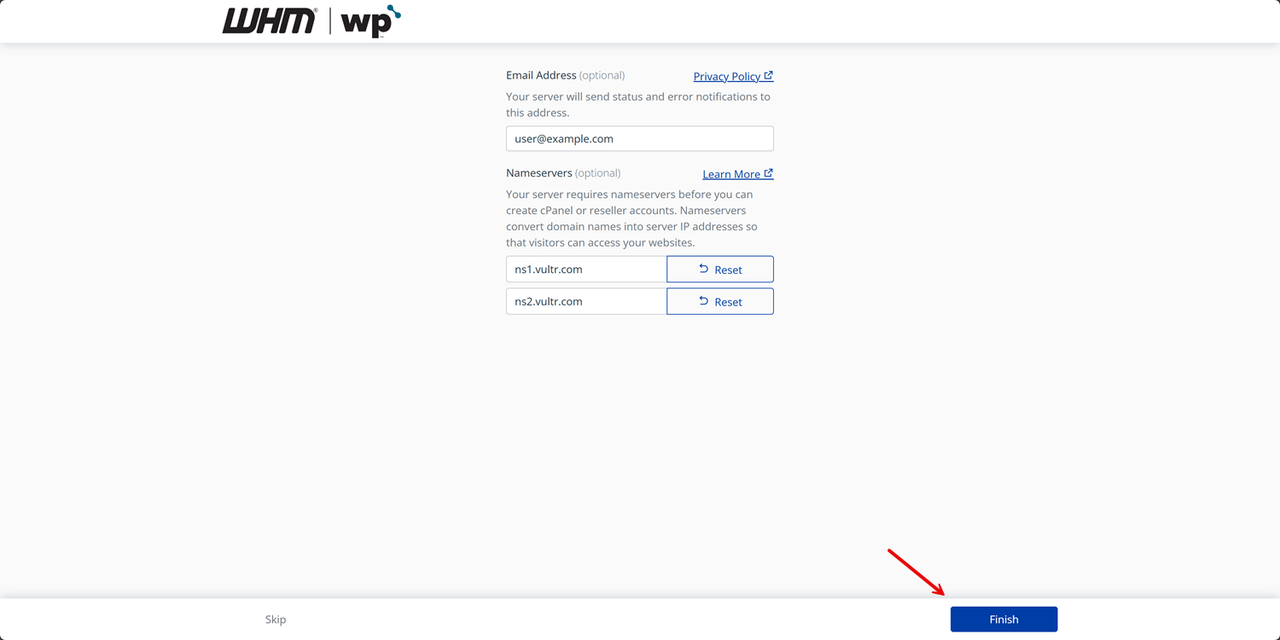
- Click Finish to access the WHM interface.
- Click Add a New Account within the WHM interface.
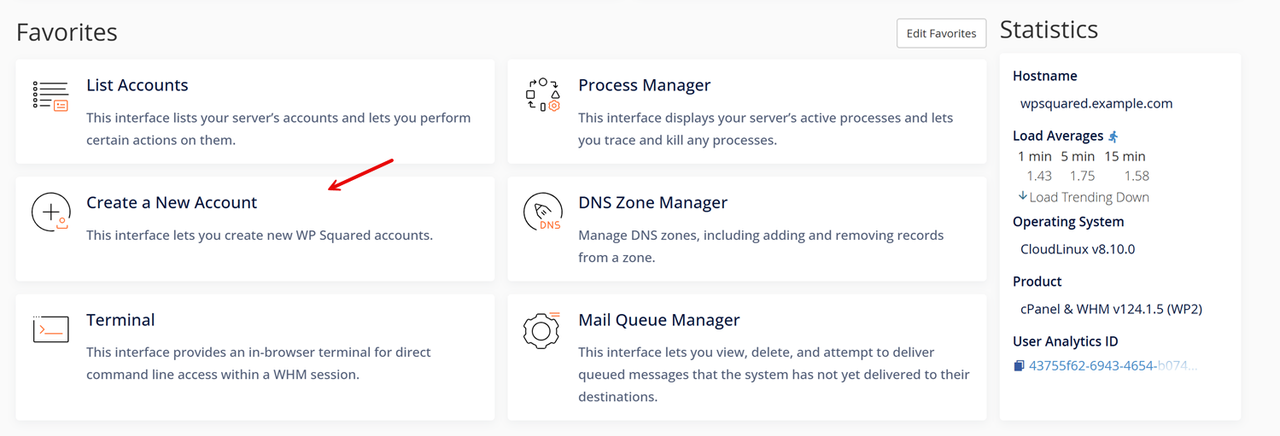
- Enter your domain information, administrator username, password, and email to use with WP Squared.
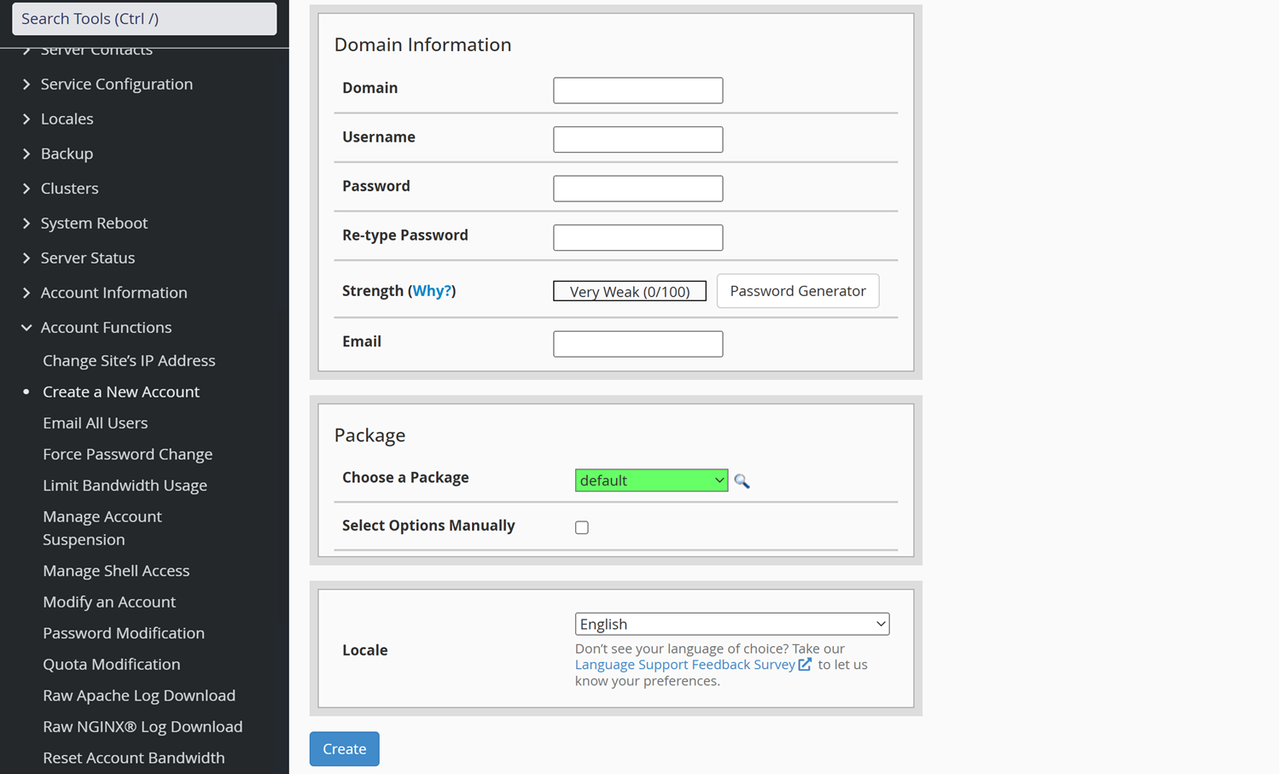
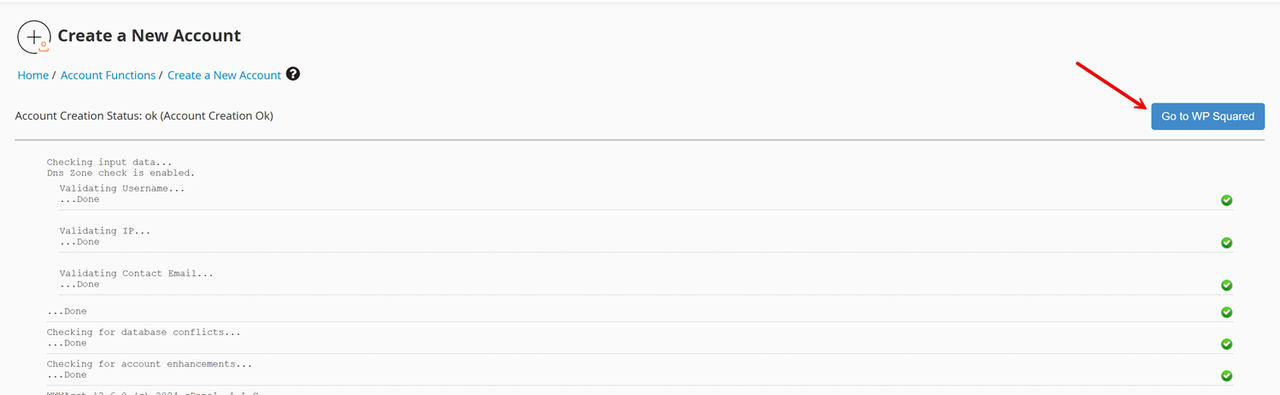
- Click Create to apply the new account to use with WP Squared.
- Click Go To WP Squared to redirect to the WP Squared website setup page.
Change Hostname
It’s recommended to change the default server hostname with a fully qualified domain (FQDN) in the format xxxx.example.com.
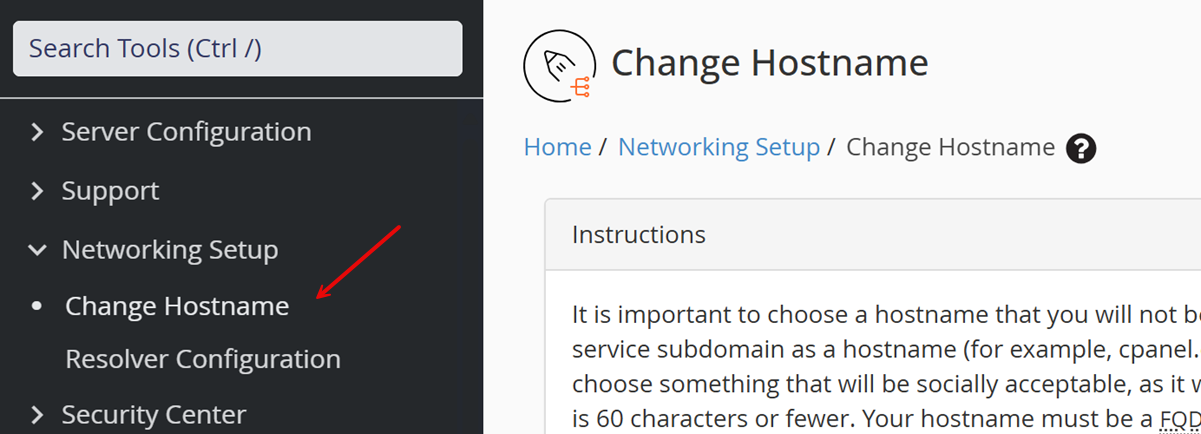
- Click the Networking Setup dropdown on the main navigation menu and select Change Hostname from the list of options.
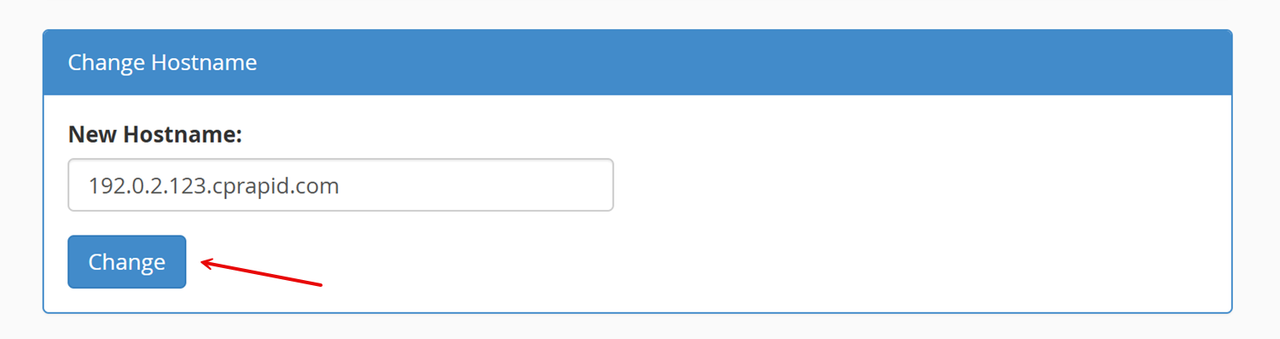
- Replace the default hostname with your FQDN in the New Hostname field and click Change to apply changes.
Important:
- Do not use a hostname that begins with
www, a number, or a hostname that ends with a hyphen (-). - Use a fully-qualified domain name (FQDN) that uniquely identifies your server such as
hostname.example.comorhostname.example.net. - Do not choose a hostname that a WP Squared account will use on your server.
- Only use lowercase hostnames.
- Do not use a hostname that begins with
Access WP Squared and Set Up a WordPress Website
You can access WP Squared using the Go to WP Squared option after creating a user or access port 2083 using your server’s IP address.
- Access your server IP on port
2083to open the WP Squared interface.https://192.0.2.123:2083Accept the SSL security warning to continue.
- Log in to WP Squared using the account username and password you created in WHM.

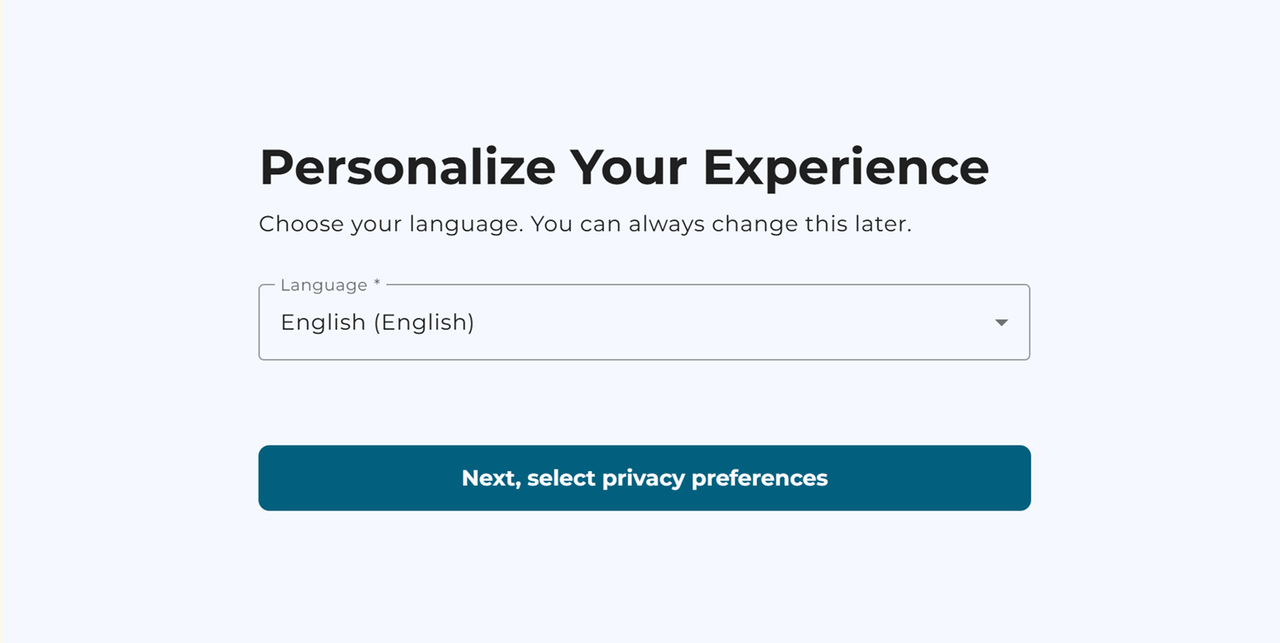
- Choose your language and click Next, select privacy preferences.
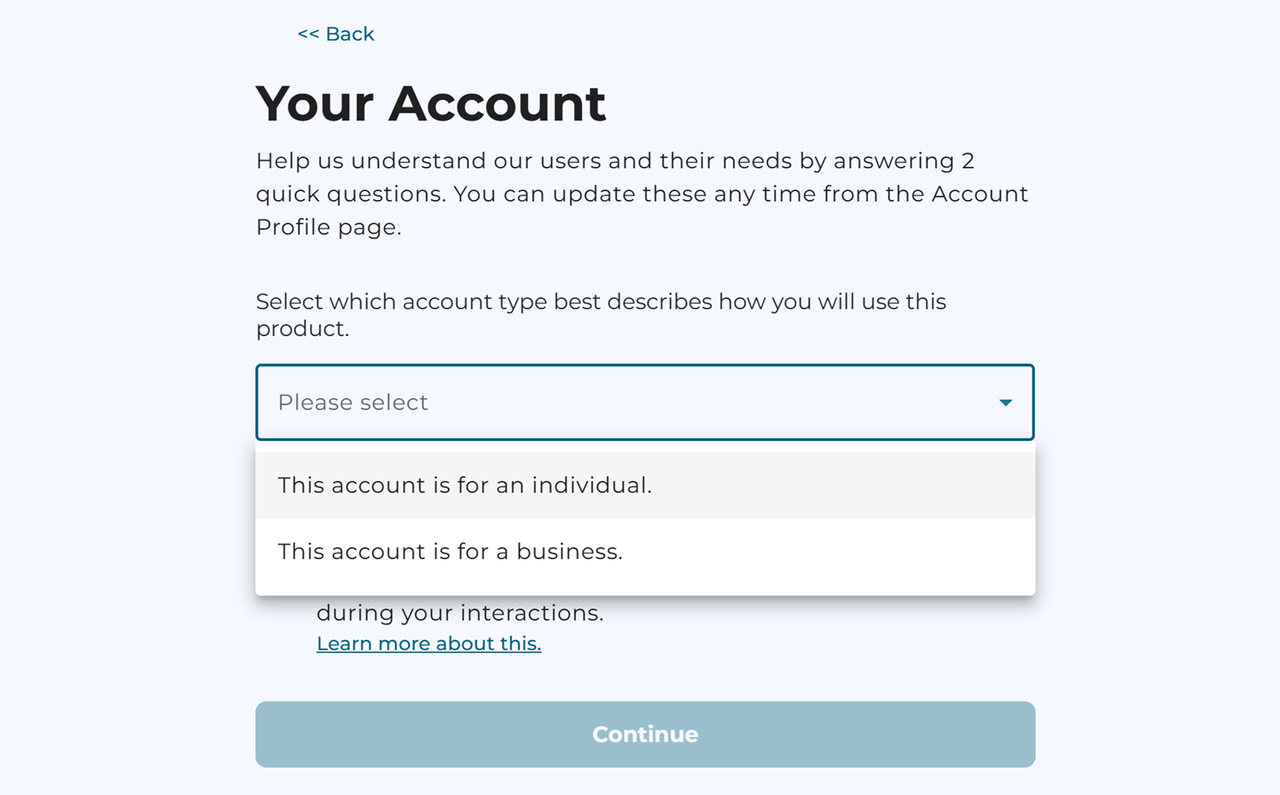
- Choose your account type and click Continue.
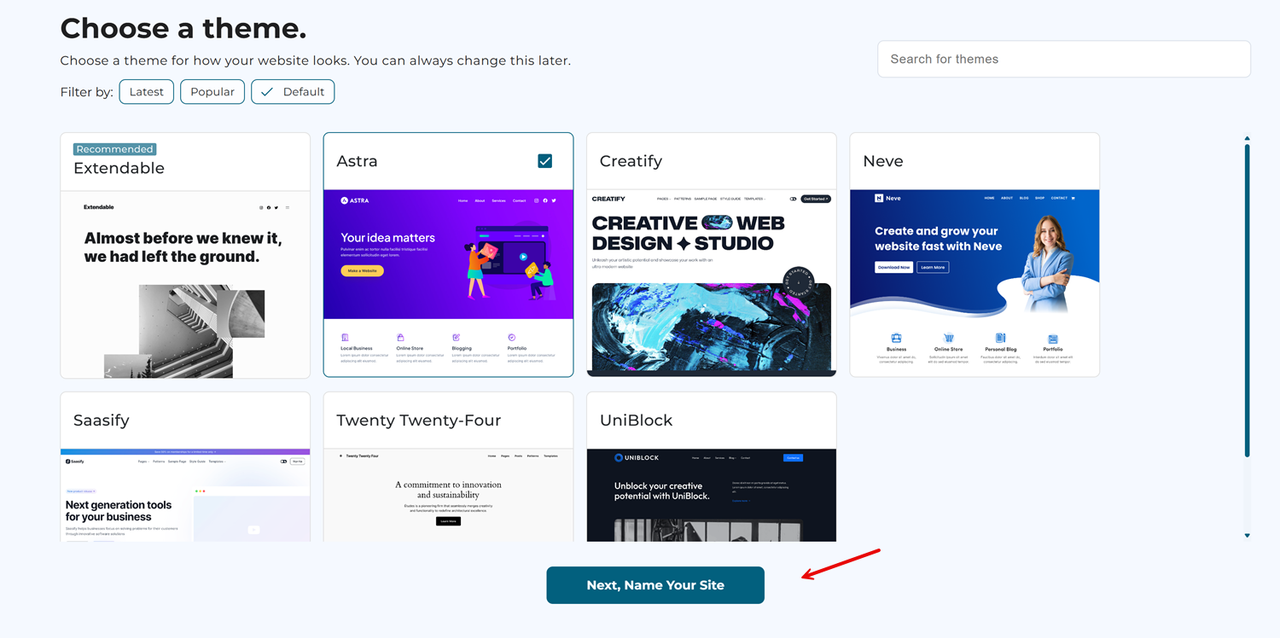
- Select a WordPress theme and click Next, Name Your Site.
- Enter your website name and tagline in the respective fields.
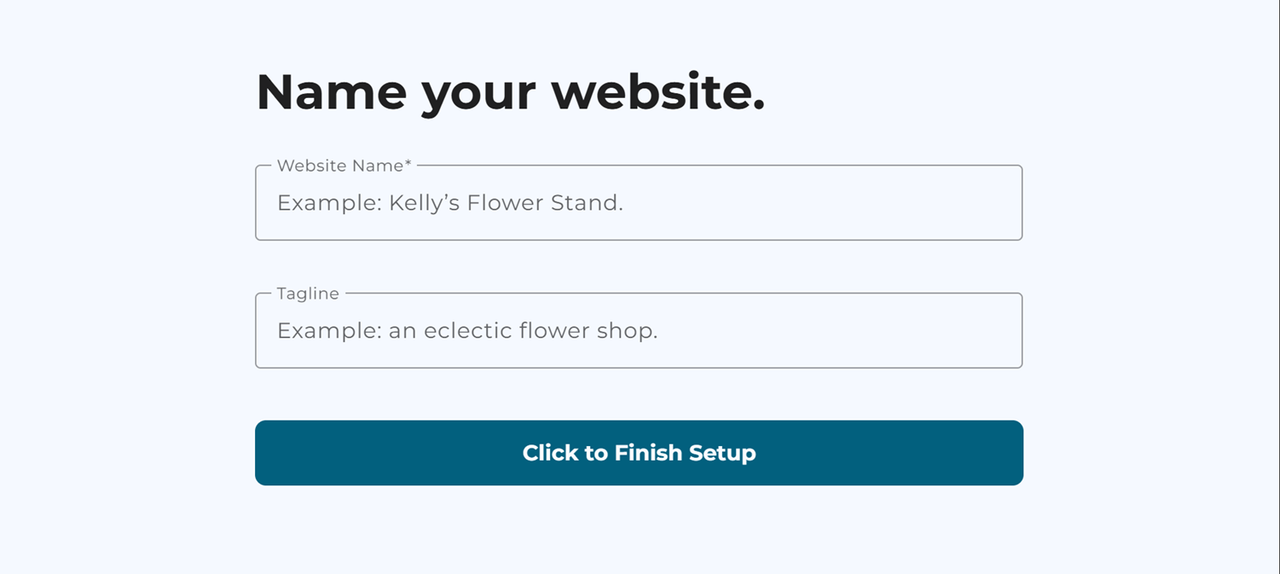
- Click Finish Setup to create the WordPress website and wait for the setup process to complete before accessing your website.

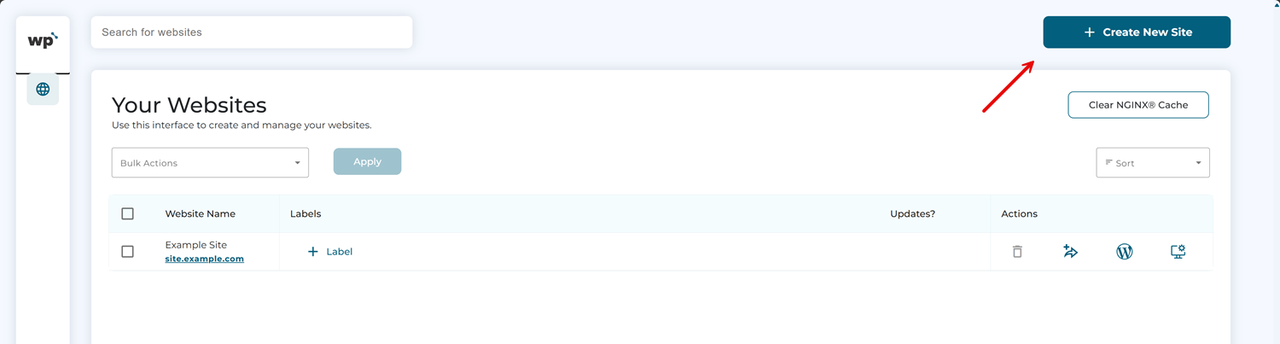
- To create another website, click Create New Site within the WP Squared dashboard.
Licensing
Your Vultr instance runs with a fully licensed version of WP Squared. A License is tied to your instance’s public IP address and cannot be transferred to any other instances in your account. A surcharge of $84.99 per license is bundled with the instance price to cover the WP Squared license.
Other Info
- WP Squared uses a MySQL or MariaDB database which you can access by running MySQL when logged in as the
rootuser. - WP Squared automatically manages SSL certificates for website domains using Let’s Encrypt.
- WP Squared can be manually restarted (without rebooting the VPS) by running service cPanel restart when logged in as the root user.
- The SMTP port
25is blocked by default on Vultr instances. If you would like to enable outgoing email for your VPS, open a new support request. - Visit the WP Squared documentation for more information on managing a website.
About One-Click Apps
One-Click apps are updated regularly without notice. When launching a One-Click app, you’ll receive our latest version. We do not update deployed instances, and you are responsible for keeping the instance up-to-date. If you design an infrastructure based on One-Click apps and need to ensure the same app version in the future, take a snapshot of the initial deployment and create new instances from the snapshot.